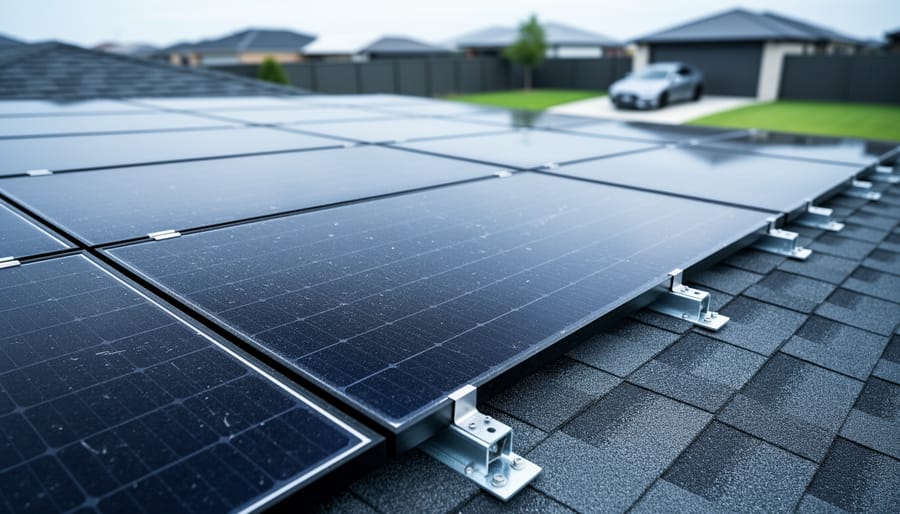
Choosing the right solar panels for your home requires matching panel type, wattage capacity, and efficiency ratings to your specific energy needs and installation constraints. The decision comes down to three core factors: whether you need to power security cameras and small devices (4-8W panels, under $40), supplement partial home electricity with portable or RV-grade panels (200W panels around $160), or invest in whole-home rooftop systems (400W+ bifacial panels starting near $320). Each category serves distinct use cases, and selecting the wrong tier wastes money or leaves you chronically underpowered.
Current market data shows a clear bifurcation in residential solar adoption. Low-wattage panels designed for Ring cameras and similar IoT devices dominate sales volume, reflecting widespread consumer interest in supplemental solar for specific applications rather than full grid replacement. Meanwhile, serious residential installations demand higher-efficiency monocrystalline panels with N-type cell architecture and bifacial designs that capture reflected light from rooftops or ground surfaces.
The gap between these categories matters because home solar solutions have evolved beyond one-size-fits-all thinking. A 200W panel works beautifully for van life or emergency backup but cannot economically power a 2,000-square-foot home. Conversely, investing in a 400W rooftop array to charge a doorbell camera is financial absurdity. Understanding panel specifications, efficiency curves, mounting requirements, and compatibility with charge controllers or inverters determines whether your investment delivers reliable returns or becomes an expensive disappointment. This guide provides the decision framework, technical comparisons, and mistake-avoidance strategies you need to select panels that match your actual requirements in 2026.
Understanding Your Solar Power Needs
Before you invest in domestic solar panels, you need to match the system size to your actual energy requirements. The residential solar market spans three distinct categories, each serving radically different needs: small-device charging (typically 4W-8W panels), portable power for RVs and off-grid applications (100W-300W range), and whole-home grid-tied systems (multi-kilowatt rooftop arrays). Choosing the wrong category wastes money and delivers frustration.
Start by auditing what you actually want to power. A security camera setup requires minimal capacity, most surveillance systems draw 2-5 watts continuously, making a single small panel sufficient for perpetual operation. Contrast that with an RV or marine application, where you’re running lights, a fridge, water pumps, and charging electronics; these scenarios typically demand 200-400 watts of generating capacity paired with battery storage. Whole-home systems represent a different calculation entirely: the average U.S. household consumes roughly 30 kilowatt-hours daily, requiring a 5-10kW rooftop array to offset most grid dependence.
Calculate your wattage needs by listing every device you intend to power, noting each one’s consumption in watts (found on product labels or specifications), and multiplying by daily hours of use. Add a 25% buffer for efficiency losses and cloudy days. A Ring camera drawing 3 watts around the clock needs 72 watt-hours daily; an 8W panel easily covers that with margin. An off-grid cabin running LED lighting (30W), a laptop (65W), and a small fridge (100W average) for combined 6-8 hours daily needs roughly 1,200 watt-hours, achievable with a 200W panel and adequate battery capacity.
Grid-tied whole-home systems operate differently. Rather than sizing for specific devices, you’re offsetting your utility bill by generating daytime electricity that either powers the house directly or feeds back to the grid for credits. Review 12 months of electric bills to find your average monthly consumption in kilowatt-hours, then divide by 30 for daily usage. This approach aligns with hydroelectricity overview principles where generation must match demand patterns. The power reliability data from renewable sources shows that consistent output matching to load profiles matters more than raw capacity.
Don’t conflate panel wattage with real-world output. A 200W panel produces 200 watts only under ideal conditions, full sun, optimal angle, cool temperatures. Expect 70-80% of rated capacity on average days, less in winter or cloudy climates. This derating factor explains why experienced off-grid users oversize their arrays rather than cutting it close.
Key Buying Factors for Domestic Solar Panels
Efficiency and Wattage Output
Efficiency ratings tell you how much sunlight a panel converts into usable electricity. High-efficiency domestic panels now reach 25% or higher, meaning they generate more power per square foot, crucial when roof or installation space is limited. N-Type cells, found in premium residential panels, offer better performance in low light and less degradation over time compared to older P-Type technology. You’ll see N-Type cells highlighted in mid-range and high-output panels designed for RVs, marine applications, and rooftop systems.
Bifacial panels capture sunlight from both sides, boosting total output by 5-30% depending on ground reflectivity and mounting height. Current bifacial models rated at 400W can deliver significantly more energy when installed over light-colored surfaces or elevated mounts. Research on bifacial solar cell efficiency shows these gains are most pronounced in open installations with reflective surroundings.
Wattage output determines real-world capability. A 4W panel keeps a security camera charged continuously under good sunlight but won’t power anything larger. A 200W panel can run small appliances, charge batteries, or maintain RV systems. For whole-home needs, multiple high-wattage panels, typically 300W to 400W each, are combined into arrays that offset significant portions of household consumption.
Compatibility and System Integration
Matching your solar panels to your existing equipment prevents costly compatibility issues and ensures reliable performance. The voltage of your panel must align with your battery system, panels designed for 12V systems won’t properly charge 24V batteries without additional equipment, and vice versa. Most small device chargers for security cameras operate on 5V USB outputs, while RV and marine setups typically use 12V configurations. Larger off-grid systems often run at 24V or 48V for improved efficiency at higher power loads.
Connector types matter just as much as voltage. Small solar chargers commonly feature USB-C outputs or include adapters like USB-C to barrel plugs for specific device compatibility. The current best-selling security camera chargers ship with these adapters to work with popular brands’ proprietary ports. Mid-range and rooftop panels use MC4 connectors as the industry standard, which require compatible charge controllers and inverters. Mismatched connectors force you to buy adapters or replacement cables, adding expense and potential points of failure.
Check your charge controller’s input specifications before selecting panels. Maximum input voltage and current ratings determine how many panels you can connect in series or parallel. Popular battery systems like Jackery, Bluetti, and EcoFlow portable power stations specify compatible panel wattages and connector requirements, exceeding these limits risks damaging both the panel and the battery. When upgrading existing setups, verify that new panels match your current system architecture rather than requiring a complete equipment overhaul.
Durability, Weather Resistance, and Portability
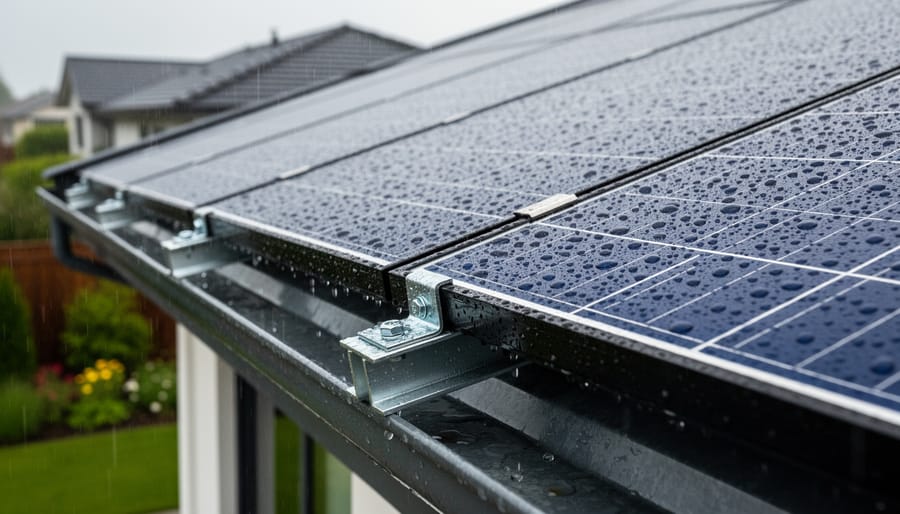
When choosing domestic solar panels, construction quality directly determines whether your investment survives real-world conditions. IP67-rated panels resist dust and can withstand submersion in one meter of water for 30 minutes, making them suitable for outdoor installations exposed to rain, snow, and humidity. This rating has become standard for portable panels designed for RV and marine use, where panels face variable weather and occasional splashing, but it also appears in small-wattage security camera chargers that must operate continuously outdoors.
Weather-resistant construction involves more than waterproofing. Quality panels use tempered glass or ETFE film covers to protect cells from hail and debris, aluminium frames that won’t corrode in coastal environments, and sealed junction boxes that prevent moisture intrusion at connection points. For rooftop installations, these features matter less for immediate survival than for maintaining efficiency over 20-25 years of constant exposure.
The portability versus fixed installation choice presents a fundamental trade-off. Portable panels prioritise lightweight materials and folding designs, sometimes sacrificing durability for convenience. They include built-in kickstands, carrying handles, and quick-disconnect cables, making them ideal for RVs, boats, and camping where you need to reposition panels throughout the day or store them during travel. Fixed rooftop panels, by contrast, use heavier construction and permanent mounting hardware designed to withstand decades of wind loads and thermal cycling without maintenance. They optimise for longevity and structural integrity rather than weight or ease of removal.
Types of Domestic Solar Panels Compared
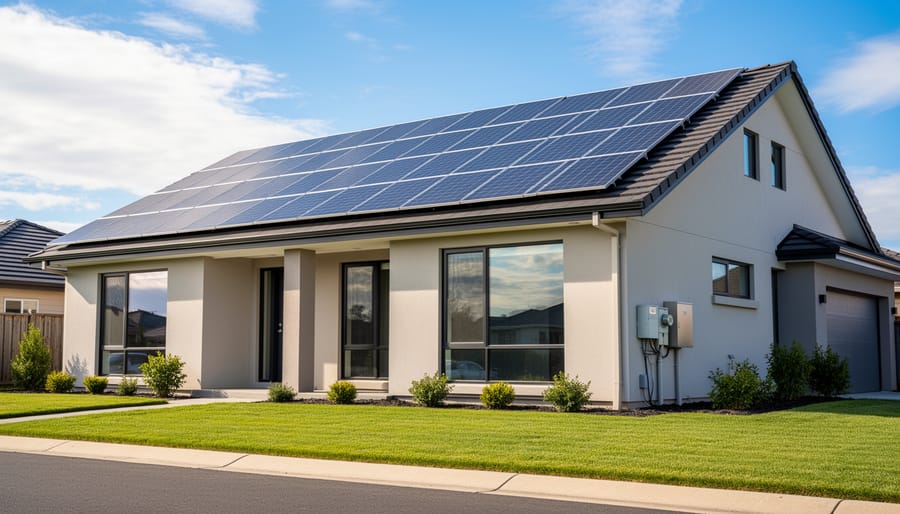
Domestic solar panels fall into three distinct categories, each engineered for different scales of power generation and use cases. Understanding these categories helps match the right technology to your specific needs, whether you’re keeping a security camera charged or powering an entire household.
Small-Device Charging Panels (4W, 10W)
These compact panels target a single purpose: maintaining charge on battery-powered outdoor devices. The typical specifications cluster around 4W to 8W output with USB-C or barrel plug connectors designed for specific device compatibility. Current best-sellers in this category operate at 5V-6V output, delivering just enough continuous power to offset the slow drain of security cameras, doorbell cameras, and similar devices.
The design priorities here favor weatherproofing and plug-and-play simplicity over raw efficiency. Most feature IP65 or IP67 ratings and come with 10-foot cables to allow flexible positioning relative to the device. Installation requires no electrical knowledge, you mount the panel where it receives direct sun and connect it to the device’s charging port. These panels cannot run devices directly; they trickle-charge batteries to maintain operational capacity indefinitely without manual intervention.
Expect to pay $20-40 per panel in this category, with two-packs offering better value for multiple camera installations. The low wattage means a single panel won’t power energy-hungry devices, but for their intended application, extending outdoor camera runtime from weeks to perpetual operation, they solve a specific problem efficiently.
Mid-Range Portable Panels (100W, 250W)
This category bridges the gap between device charging and serious off-grid power generation. Panels in the 100W, 250W range typically serve RVs, boats, trailers, and small off-grid cabins where portability and moderate power output matter equally. The 200W class dominates current sales, striking a practical balance between usable power and manageable size.
These panels commonly use monocrystalline N-Type cells achieving 22-25% efficiency, housed in aluminum frames with tempered glass or ETFE coating for durability. Unlike small-device chargers, mid-range panels output 12V or 24V to charge battery banks through charge controllers. Modern designs have shrunk physical dimensions through higher-efficiency cells, 200W panels now measure roughly 47 inches by 21 inches, lighter and more compact than previous generations.
The portability factor differentiates this category: built-in handles, foldable designs, or relatively light weight (15-25 pounds for 200W rigid panels) enable seasonal installation and storage. Setup complexity increases modestly, you’ll need compatible MC4 connectors, a charge controller matched to your battery voltage, and basic understanding of series versus parallel wiring if combining multiple panels. Installation remains well within DIY capability for most buyers.
Price ranges from $120-300 for quality 200W panels, with bifacial designs commanding premium pricing for their ability to capture reflected light from both sides. These panels won’t run high-draw appliances like air conditioning, but they’ll maintain house batteries, run LED lighting, charge laptops and phones, and operate small 12V refrigeration, the essential loads for extended boondocking or marine use.
Full-Scale Rooftop Panels (300W, 450W+)
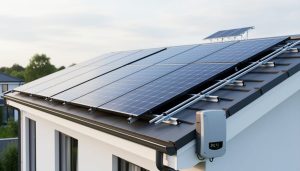
Residential rooftop systems use high-wattage panels optimized for grid-tied or whole-home off-grid installations. Individual panels in this category typically deliver 350W, 450W, with current high-efficiency bifacial models reaching 400W per panel through advanced N-Type cell technology and dual-sided light capture.
The specifications shift toward maximizing power density and long-term durability. Panels measure roughly 80 inches by 40 inches, designed for permanent rooftop mounting in arrays of 10-30+ panels depending on household energy needs. Bifacial designs can boost total output by 10-30% when installed over reflective surfaces, though this benefit requires proper mounting height and light-colored roofing or ground cover.
| Panel Type | Typical Wattage | Best Use Cases | Installation Complexity | Price Range (per panel) |
|---|---|---|---|---|
| Small-Device Charging | 4W, 10W | Security cameras, doorbells, sensors | Plug-and-play | $20, $40 |
| Mid-Range Portable | 100W, 250W | RVs, boats, trailers, small cabins | DIY-friendly with basic wiring | $120, $300 |
| Full-Scale Rooftop | 300W, 450W+ | Grid-tied homes, whole-house off-grid | Professional installation recommended | $250, $500 |
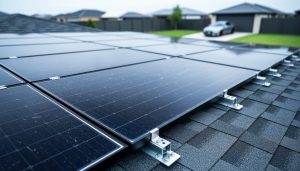
Installation complexity jumps significantly for rooftop systems. Professional installation becomes advisable for safety, electrical code compliance, and warranty protection, though experienced DIYers with electrical knowledge can tackle smaller systems. You’ll need inverters to convert DC panel output to AC household current, proper racking systems engineered for your roof type and local wind loads, and integration with your electrical panel, either through net metering for grid-tied systems or battery banks for off-grid setups.
The cost structure changes entirely at this scale. Individual panels run $250-500 depending on wattage and technology, but complete system costs include inverters, mounting hardware, wiring, permits, and labor if professionally installed. The value proposition shifts from convenience (small panels) or supplemental power (portable panels) to substantial utility bill reduction or complete energy independence. A typical residential system requires 15-25 panels, putting total installed costs in the thousands to tens of thousands, offset by federal tax credits and long-term energy savings that smaller systems cannot deliver.
Current Market Options and What to Look For
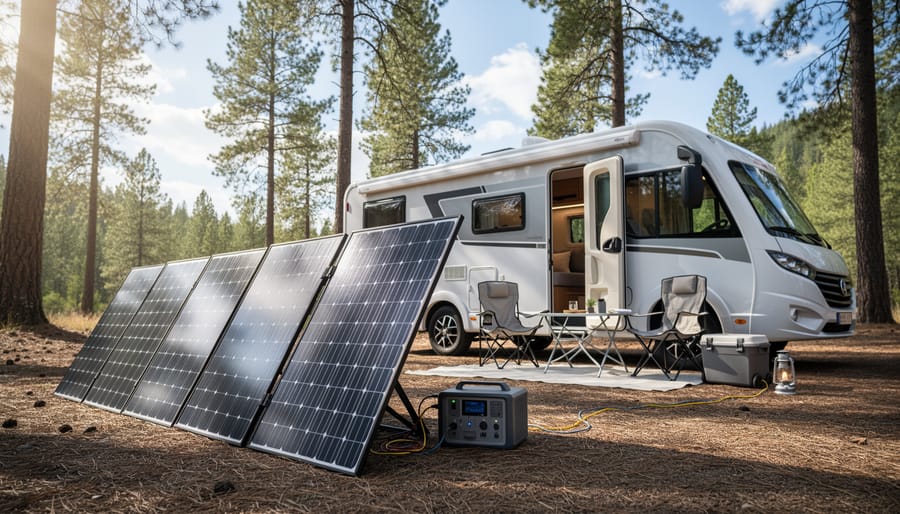
The domestic solar panel market in 2026 reveals a striking divide between entry-level device charging and serious power generation. Current best-seller data shows that the most popular solar purchases are not rooftop installations but purpose-built chargers for security cameras, with 4W and 8W models consistently dominating sales charts. These compact panels, typically priced under $40 for two-packs, serve a single focused purpose: keeping battery-powered outdoor cameras operational without running extension cords or climbing ladders for battery swaps.
This sales pattern tells us that buyers prioritize proven compatibility and plug-and-play simplicity for their first solar purchase. The top-selling camera chargers come with device-specific connectors (USB-C to barrel plug adapters for Ring cameras, for instance) and cables long enough to position the panel in optimal sunlight while the camera mounts in shade. The low wattage reflects the modest power draw of modern security cameras, these devices sip rather than gulp electricity, making 4W to 8W sufficient for continuous operation in most climates.
The next tier up shows a significant jump in both capability and price. Mid-range portable panels in the 200W class, selling for around $160, represent a different buyer entirely: RV owners, boaters, and off-grid enthusiasts who need meaningful battery charging capacity. These models showcase current high-performance specs that matter across all domestic solar applications: N-Type cell construction, 16 busbar designs, and efficiency ratings pushing 25%. The emphasis on smaller, lighter form factors in this category reveals that even serious users value portability and ease of installation, with IP67 weather resistance ratings now standard rather than premium features.
At the higher end, bifacial 400W systems priced around $320 bridge the gap between portable solutions and permanent installations. These dual-module configurations highlight two critical market trends: the shift toward anti-shading designs that maintain output when partially obscured, and compatibility with both 12V and 24V systems to serve diverse applications from marine use to small home backup systems. The fact that these reach best-seller status at a price point seven times higher than camera chargers indicates a growing segment of buyers ready to invest in scalable, future-proof capacity rather than minimal one-device solutions.
What stands out across all three categories is the absence of vague marketing claims. Top-selling panels specify exact wattage output, cell efficiency percentages, compatibility lists, and IP ratings because informed buyers demand concrete performance data, not aspirational language about “green living” or “energy independence.” The specs that drive purchase decisions remain consistent whether you spend $40 or $320: verifiable power output for your specific use case, proven weather resistance for outdoor installation, and compatibility with the devices or systems you already own.
Recommended Solar Panel Options for Different Needs
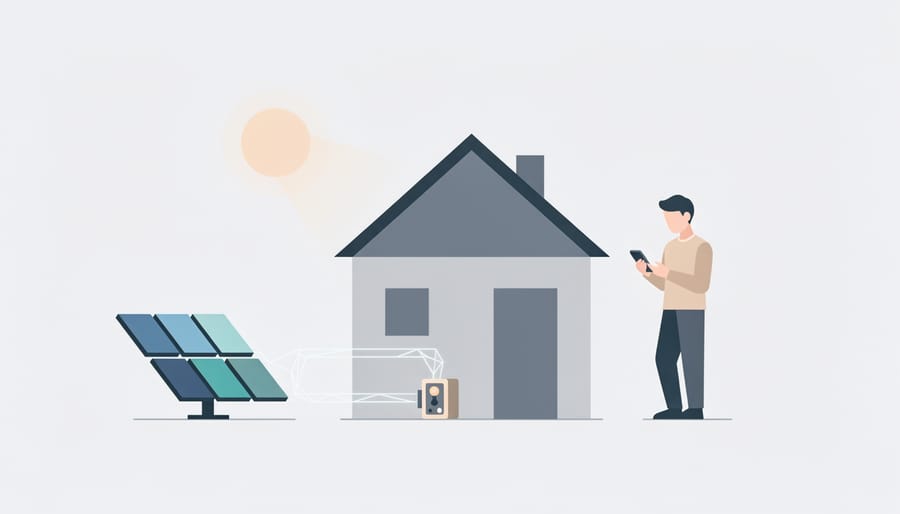
Matching the right solar panel to your specific application makes the difference between a reliable system and a frustrating investment. The research-backed market data reveals distinct categories of domestic solar solutions, each engineered for particular use cases with specifications that directly address those needs.
Security Camera and Small Device Charging
For continuous outdoor security camera operation, 4W to 8W panels designed specifically for battery-powered cameras dominate the market. The current best-sellers in this category, including 4W dual-panel kits at $36.99 and 8W two-pack systems at $39.99, prove this sweet spot addresses real buyer needs. These compact panels include 10-foot cables with USB-C to barrel plug adapters, ensuring compatibility with Ring Stick Up Cam, Spotlight Cam models, and similar battery-powered security devices. The key specification here isn’t raw power but consistent trickle charging: 4W provides enough output to maintain camera batteries in most climates, while 8W options offer faster recharging and better performance in overcast conditions. Look for IP65 or higher weather resistance ratings and mounting brackets that allow precise angle adjustment to capture maximum sunlight at your camera’s location.
RV, Marine, and Trailer Applications
Mid-range portable solar becomes essential when you need reliable power away from shore connections or campground hookups. The 200W N-Type panel with 16BB cell technology, currently the #3 best-seller at $159.99, represents the ideal compromise between output and portability for RV roofs and boat installations. This class delivers 25% efficiency ratings and produces enough daily power to run lights, charge devices, and maintain battery banks in 12V systems without overwhelming limited mounting space on Class B vans or boat decks. The IP67 rating ensures survival in marine spray and highway rain, while the lighter weight (compared to traditional panels) simplifies roof mounting and reduces structural load. For boats and trailers, prioritize panels with reinforced corners and marine-grade mounting hardware; the extra durability pays off when dealing with vibration and flexing during travel.
Small Off-Grid Systems and Backup Power
When building a standalone system for a cabin, workshop, or emergency backup, dual-module bifacial configurations like the 400W N-Type bifacial systems (currently #4 best-sellers at $319.99 for a two-panel, 200W-each setup) deliver exceptional value. These panels capture reflected light from the ground or roof surface, boosting total output by up to 30% compared to single-sided panels in optimal conditions. The parallel anti-shade design means one panel continues generating power even when the other encounters partial shading, a critical feature for off-grid locations with changing sun exposure. For 12V/24V battery systems, this 400W combined output provides enough daily generation to run essential appliances, maintain refrigeration, and support moderate lighting needs. Match these panels with a charge controller rated for their maximum output and ensure your battery bank capacity stores at least two days of your typical usage.
Whole-Home Rooftop Considerations
Full residential installations require professional assessment to match panel count, inverter capacity, and electrical integration with your household consumption patterns. While individual high-efficiency panels are available for DIY purchase, whole-home systems benefit from professional design that accounts for roof pitch, local shading analysis, structural load limits, and electrical code compliance. The same N-Type and bifacial technologies that power smaller systems scale to rooftop arrays, but installation complexity, permitting requirements, and grid interconnection agreements make this category fundamentally different from plug-and-play options. Focus on installer credentials, warranty terms covering both panels and workmanship, and realistic production estimates based on your specific roof orientation rather than shopping for individual panel components.
- Security cameras: 4W-8W panels with camera-specific connectors and weather-resistant mounting
- Weekend RV use: Single 200W panel for lights, phones, and battery maintenance
- Full-time van living: 400W+ bifacial systems with charge controllers for appliances and electronics
- Marine applications: IP67-rated panels with vibration-resistant mounts and corrosion-proof hardware
- Off-grid cabins: Multiple 200W panels in parallel configuration with battery banks for multi-day autonomy
- Whole-home power: Professional installation with grid-tie inverters, permitting, and utility interconnection
The verification data confirms that domestic solar buyers in 2026 overwhelmingly choose application-specific solutions rather than trying to force general-purpose panels into specialized roles. Security camera users buy camera-optimized chargers, not oversized panels; RV owners select portable systems engineered for mobile mounting, not residential roof panels. Match your selection to your actual use case first, then optimize within that category for efficiency, durability, and compatibility with your existing equipment.
Installation Considerations and Ease of Setup
Installation complexity varies dramatically based on the type of domestic solar panel you select. Understanding these differences upfront helps you choose a system that matches your technical comfort level and avoid unexpected installation challenges.
Small-device charging panels designed for security cameras represent the simplest installation scenario. These systems are genuinely plug-and-play: you mount the panel using the included bracket, run the cable to your device, and connect. Most models come with 10-foot cables and device-specific adapters, eliminating compatibility guesswork. The primary consideration is placement, you need a mounting location with unobstructed southern exposure (in the Northern Hemisphere) where the panel receives direct sunlight during peak hours. Window mounting rarely works well due to UV filtering glass.
Mid-range portable panels for RVs and marine applications require more planning but remain DIY-friendly. These systems typically use adjustable kickstands or mounting brackets designed for temporary or semi-permanent installation. You will need to secure mounting hardware to your vehicle’s roof or deck, route cables through entry points (often requiring drilling), and connect to your battery system via an appropriate charge controller. The installation itself takes a few hours, but getting the placement right matters more than speed. Account for roof curves, vents, and other obstructions that create shade patterns throughout the day.
Rooftop systems for whole-home power cross into professional installation territory for most homeowners. The mechanical challenges alone, roof penetrations, flashing, structural load calculations, weatherproofing, make this a job for licensed installers. Electrical work compounds the complexity: you are integrating with your main service panel, potentially installing battery backup systems, and ensuring compliance with local electrical codes and utility interconnection requirements. Permits are almost always required.
Space requirements scale with power needs. A 4-watt camera charger occupies less than a square foot. A 200-watt portable panel measures roughly four by three feet. A typical 6-kilowatt rooftop system requires 300 to 400 square feet of unshaded roof area. Calculate available mounting space before selecting wattage, installing high-efficiency panels on limited roof area beats cramming standard-efficiency panels into inadequate space.
Common Mistakes to Avoid When Buying Solar Panels
Most buyers make predictable mistakes when selecting solar panels, and these errors often surface only after installation when it’s too late to return a product. Understanding these pitfalls beforehand saves both money and frustration.
The most common error is drastically underestimating wattage requirements. A security camera that draws 3W continuously needs more than a 4W panel because solar output varies with weather, season, and angle, many buyers discover their “matched” panel barely maintains charge on cloudy days. Calculate your device’s actual consumption over 24 hours, then size your panel to generate at least 150-200% of that daily need to account for inefficiency and less-than-ideal conditions.
Compatibility failures rank second. Buyers purchase panels without checking voltage specifications (12V versus 24V systems), connector types, or charge controller requirements. A 200W panel with barrel plugs won’t power a USB-C device without an adapter, and voltage mismatches can damage batteries or electronics. Verify every connection point and electrical specification before buying, not after the package arrives.
Weather resistance ratings get routinely ignored, particularly for outdoor installations. An unrated panel mounted on an RV roof or backyard pole will fail when exposed to rain, humidity, or temperature swings. Look for IP67 or higher ratings for any panel that faces the elements, and don’t assume “outdoor” in the product name means genuinely weatherproof construction.
- Match wattage to actual 24-hour consumption plus 50-100% overhead, not just peak device draw
- Verify voltage, connector type, and charge controller compatibility before purchase
- Check IP ratings for outdoor panels and confirm weather resistance specifications
- Calculate cost per watt and efficiency rating together, not price alone
- Account for shading, roof orientation, and seasonal sun angle in placement planning
Price-focused decisions ignore efficiency trade-offs. A $40 panel at 15% efficiency generates less power per square foot than a $160 panel at 25% efficiency, the cheaper option costs more long-term if you need multiple panels to meet your power requirements or lack mounting space. While comparing the relative merits of renewable technologies like wind energy efficiency to solar can inform broader energy decisions, for residential solar specifically, efficiency directly impacts how much roof or yard space you’ll consume and whether your system meets its goals.
Shading and placement constraints get overlooked until installation day. Buyers purchase panels without measuring available unshaded area or checking roof orientation, then realize their south-facing roof section is too small or that a tree casts shadows during peak sun hours. Map your installation site’s sun exposure throughout the day and across seasons before selecting panel size and quantity.
Maximizing Value: Incentives and Long-Term Savings
The financial case for domestic solar panels extends far beyond the purchase price. Federal, state, and local incentive programs can substantially reduce your upfront investment, while long-term energy savings compound over the system’s lifespan. Understanding these financial mechanisms before you buy helps you maximize value and make accurate payback calculations.
Start by researching federal tax incentives available for solar installations. These credits typically apply to rooftop systems rather than small portable panels, and eligibility requirements vary by installation type and property ownership status. Check the current year’s guidelines directly from official sources, as percentages and caps change with legislative updates.
State and local programs add another layer of potential savings. Many states offer additional tax credits, rebates, or property tax exemptions for solar installations. Some utility companies provide rebates for grid-tied systems or offer net metering programs that credit you for excess power sent back to the grid. These programs vary dramatically by location, what applies in California differs entirely from incentives available in Florida or Texas. Contact your state energy office and local utility provider to identify current programs in your area.
Payback periods depend on your specific installation costs, energy usage patterns, and available incentives. A whole-home rooftop system typically requires several years to recoup the investment through electricity savings, while smaller setups for device charging offset their modest cost more quickly. Calculate your payback using your actual electricity rates and realistic production estimates for your location’s sun exposure.
Beyond solar, some homeowners explore complementary renewable options like urban wind innovations to diversify their energy portfolio. The key is matching your investment to your needs and verifying all incentive details before purchase, rather than relying on outdated information or estimated figures.
Frequently Asked Questions
What wattage solar panel do I need for my home?
The wattage depends entirely on your application. Small device charging like security cameras requires only 4-8W, while RV and marine systems typically need 100-400W panels. Whole-home rooftop installations usually consist of multiple panels totaling several kilowatts to offset household consumption.
Can solar panels withstand harsh weather conditions?
Quality solar panels designed for outdoor use feature IP67 or higher weather resistance ratings, protecting against rain, snow, and dust. However, extreme hail, hurricane-force winds, and severe weather may still cause damage, making proper mounting and installation critical for durability.
Are residential solar panels compatible with my existing electrical system?
Small portable panels typically connect directly to devices via USB-C or barrel plugs, while larger systems require matching voltage specifications (12V or 24V for battery systems). Whole-home installations necessitate professional integration with your electrical panel and often require permits and utility approval for grid connection.
How much money can I realistically save with solar panels?
Savings vary dramatically based on system size, local electricity rates, sunlight availability, and applicable incentives. Small device chargers eliminate minimal electricity costs, while whole-home systems can reduce electric bills by 50-90 percent in sunny regions. Federal tax credits and state incentives significantly impact overall return on investment, but specific savings figures require individual calculation based on your circumstances.
Do I need professional installation for all solar panels?
No. Small panels for cameras and portable devices are plug-and-play with no installation expertise required. Mid-range portable panels for RVs and boats typically involve basic mounting but remain DIY-friendly. Only whole-home rooftop systems consistently require professional installation due to electrical integration, structural considerations, and permit requirements.
What efficiency rating should I look for when buying solar panels?
Current high-efficiency residential panels reach 25 percent or higher, particularly newer N-Type and bifacial designs. While higher efficiency means more power per square foot, it matters most when space is limited. For applications with ample mounting area, total wattage output often matters more than efficiency percentage, and lower-efficiency panels may offer better value.
Understanding these fundamentals helps you avoid common purchasing mistakes and match panel specifications to your actual needs. The most frequently asked questions reveal a pattern: buyers often focus on the wrong metrics initially, prioritizing maximum wattage or efficiency ratings without first clarifying their specific application and power requirements.
The compatibility question proves particularly important because mismatched voltage or connector types render even high-quality panels useless for your intended purpose. Before purchasing any solar panel, verify that its output specifications align with your devices or battery system, and confirm that necessary adapters or controllers are either included or readily available.
Financial expectations also require grounding in reality. While solar panels do reduce energy costs, the magnitude of savings depends on variables specific to your situation. Small-scale applications provide convenience and backup power more than significant dollar savings, while larger residential installations represent long-term investments that typically require years to recoup initial costs through reduced utility bills.
Choosing the right solar panels for domestic use comes down to matching the technology to your actual needs. If you’re powering a security camera, a 4W panel with the right connector solves the problem for under $40. If you’re building an off-grid RV system, you need 200W+ with proper voltage compatibility and mounting options. For whole-home energy independence, rooftop installations demand professional-grade efficiency and long-term durability ratings.
The framework is straightforward: calculate your wattage requirements, identify your use case, prioritize the buying factors that matter for that application, efficiency, compatibility, weather resistance, installation complexity, and verify that the specs deliver what you need. Don’t chase the highest wattage if a smaller panel does the job, and don’t sacrifice efficiency for a lower price tag when durability matters.
Domestic solar in 2026 is scalable and accessible. You can start small with a single device charger and expand to a full rooftop array as your confidence and budget grow. The technology works, the options are proven, and the investment pays off when you choose deliberately rather than impulsively. Assess your requirements against the criteria we’ve covered, and you’ll find the right solution.