A zero-energy home produces as much energy over a year as it uses, and you get there in a fixed order: measure what the house consumes, cut that demand with insulation, air sealing and efficient equipment, electrify the remaining loads, then add on-site generation (usually rooftop solar) sized to cover what’s left. Skip the order and you pay to generate power the house wastes. Most projects take anywhere from several weeks of focused upgrades to a multi-year phased effort, and the key prerequisite is a baseline: twelve months of utility bills, ideally paired with a professional energy audit.
The logic is simple arithmetic. Every kilowatt-hour you stop using is one you never have to produce, store, or pay to install panels for. That’s why the U.S. Department of Energy’s definition of a zero energy home starts with an energy-efficient envelope and treats renewables as the final step, not the first. Net-zero is also an annual balance, not an instantaneous one. Your home will still draw from the grid at night and in winter, then export surplus on sunny afternoons.
What follows defines the term precisely, lists the tools and materials you’ll need, flags the safety conditions that should stop work, and walks through the upgrade sequence and how to verify the result.
What “Zero Energy” Means and How Far Your Home Is From It
Reading Your Utility Bills to Set a Baseline
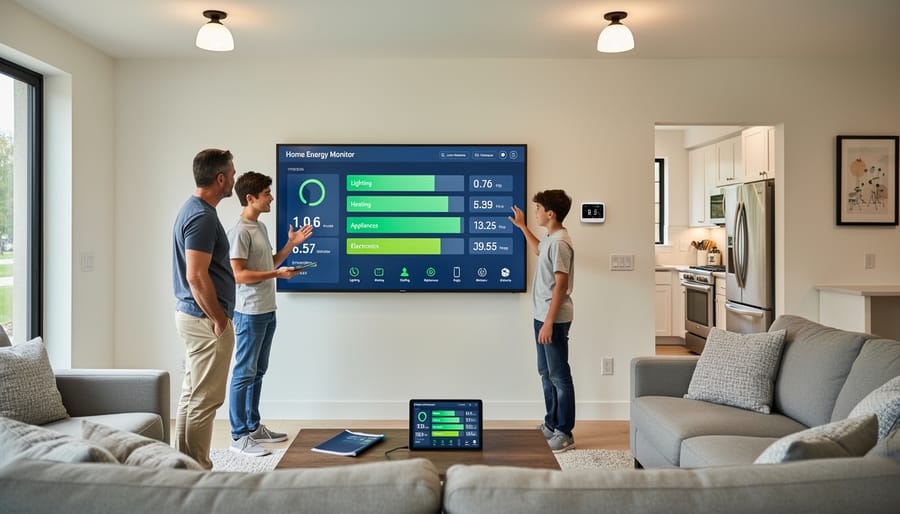
Gather twelve consecutive months of electricity and gas bills, from your utility’s online portal if paper copies are missing. Total each fuel separately, then convert everything to kilowatt-hours so the numbers can be compared. Electricity is already billed in kWh. Natural gas is usually billed in therms or cubic feet, and one therm equals roughly 29.3 kWh. Propane and heating oil convert the same way, using the energy content per gallon.
Add the converted figures together. That annual total is your baseline, the number every later upgrade is measured against. It also gives you a starting point for tracking GHG emissions reductions alongside your energy savings, and for judging how close you are to a true zero emissions home.
Next, look at the shape of the year. A winter spike in gas points to space heating. A summer peak in electricity points to cooling. A flat, steady baseline underneath both usually reflects water heating, refrigeration, lighting, and electronics. Heating, cooling, and water heating typically dominate a household’s use.
Single months mislead. A cold January or a heat wave can distort the picture, so always compare annual totals rather than one month against another.
What You Need Before You Start: Tools, Materials, and Professional Help
Before you pick up a caulk gun, sort the work into what you can do yourself and what needs a licensed professional. The line is clearer than most people expect, and drawing it early keeps both your budget and your safety intact.
Homeowners can handle diagnostics and the lower-risk, high-return tasks. Professionals should take over anything involving combustion appliances, structural changes, high-voltage wiring, or equipment that requires a permit or utility interconnection. Here is a practical checklist, split by who typically does the work:
- Smart meter data or a plug-in energy monitor to see which loads drive your usage.
- An infrared thermometer, or a rented thermal camera, to spot cold surfaces and missing insulation.
- Caulk and weatherstripping for gaps around windows, doors, and penetrations.
- Spray foam or rigid foam board for larger gaps, rim joists, and basement walls.
- Attic insulation, which many homeowners can add themselves once air sealing is done.
- LED lighting, a simple swap that cuts lighting energy substantially.
- A programmable or smart thermostat to trim heating and cooling schedules.
- Professional-only: a heat pump, a solar PV array, and a blower door test.
The blower door test deserves a closer look. It depressurizes the house to measure air leakage, which is why a certified energy auditor or Home Energy Rater typically runs it. The U.S. Department of Energy describes this kind of whole-house assessment as the standard way to prioritize upgrades, and it is worth doing before you buy any major equipment.
For each later stage, expect a different specialist. Insulation and air-sealing contractors handle the envelope, an HVAC contractor sizes and installs heat pumps, and a licensed electrician or solar installer manages the panel work and interconnection. Ask each for references and for the performance data behind their claims, such as rated efficiency figures, rather than relying on marketing language. Treat any quoted savings as an estimate that your own baseline will confirm or correct.
Safety Warnings and When to Stop and Call a Licensed Professional
Efficiency and electrification work changes how air, moisture, and electricity move through a house, and each change carries a hazard worth planning for before you pick up a tool.
The first risk is backdrafting. Air sealing reduces the makeup air that gas furnaces, water heaters, and fireplaces rely on to vent properly. If exhaust gases spill back into living space, carbon monoxide can build up. Have a professional run a combustion safety test before and after sealing, and install working CO alarms on every level.
A tighter house also needs deliberate ventilation. Without it, pollutants, humidity, and odors linger. A balanced system such as an energy recovery ventilator, plus properly vented kitchen and bath fans, keeps indoor air quality in check.
Moisture is the quiet problem. Insulating walls, attics, or crawl spaces can shift where condensation forms, and trapped dampness invites mold and rot. Fix roof and plumbing leaks first, and follow climate-appropriate vapor control guidance from a building-science source.
In homes built before the late 1970s, treat older materials with caution. Asbestos may be present in insulation, flooring, and pipe wrap, and lead paint is common. Do not disturb suspect materials; use certified testing and abatement contractors.
Working at height deserves equal respect. Use a properly rated, stable ladder, never work alone on a roof, and skip rooftop tasks in wet or windy conditions. If you are weighing home solar power solutions remember that installation involves both heights and high-voltage wiring, so it is rarely a DIY job. Even when you learn how to choose solar panels yourself, a licensed professional should handle the wiring.
Finally, panel upgrades, new circuits for heat pumps, and any grid-tied solar connection require a licensed electrician. Most jurisdictions require permits and inspections, and your utility must approve interconnection before you switch a system on.
The Step-by-Step Path From Audit to Net Zero
Steps 1-3: Audit, Air Sealing, and Insulation
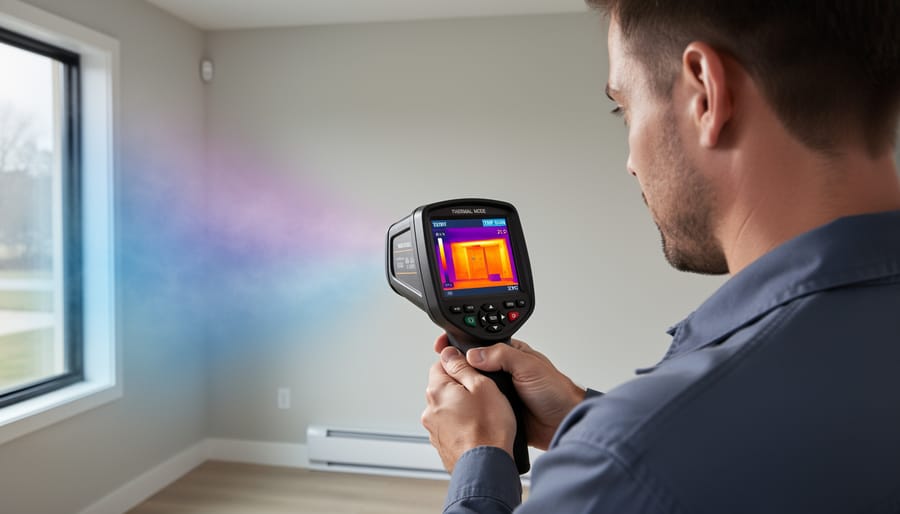
A professional energy audit is step one because it tells you where the house actually loses energy. The auditor runs a blower door test, which depressurizes the home so a thermal camera or smoke pencil can reveal leaks around attic hatches, recessed lights, rim joists, and plumbing penetrations. The same visit flags thin or missing insulation and cold spots in walls and ceilings.
Air sealing comes second, and it should come before insulation. Most fibrous insulation slows heat conduction but does little to stop moving air, and air carries a large share of a home’s heat loss. Pack insulation over open leaks and you hide them, trap moisture, and get less than the rated performance. Seal first, then insulate.
The audit’s headline number is ACH, or air changes per hour: how many times the home’s full volume of air leaks out and is replaced in an hour at a standard test pressure (ACH50). Lower is tighter. Many older homes test well above 10, while efficient new construction often lands at 3 or below. Use your audit report as the baseline for a retest later.
Step three is insulation, measured in R-value, a rating of resistance to heat flow. Higher is better. Recommended levels depend on your climate zone. A cold northern home may call for roughly R-49 to R-60 in the attic, while a mild southern one can need far less. Check your zone’s recommendation against the U.S. Department of Energy’s guidance.
Steps 4-7: Windows, Heat Pumps, Appliances, and Controls
Once the envelope is tight, shift attention to the equipment that moves heat. Heat pumps are the centerpiece of this stage because they transfer heat rather than generate it. Their efficiency is expressed as a coefficient of performance, and units commonly deliver roughly two to four times the heat per unit of electricity that a resistance heater does. Replacing electric resistance heating or an aging furnace with a properly sized heat pump, and adding a heat pump water heater, usually targets the largest loads you identified in your baseline.
Windows deserve a more cautious ranking. Replacing them is often expensive relative to the energy saved, because even a poor window is a small share of the total envelope. Prioritize them only when they are failing, causing comfort or condensation problems, or when an audit shows they are a major source of loss. Storm windows, cellular shades, and tighter sealing around frames often capture much of the benefit at lower cost.
Appliances and controls come next. Swap in efficient models as old ones wear out, and use smart thermostats and scheduling to avoid running equipment when it isn’t needed. Don’t skip the heat pump’s sizing step: oversized units cycle inefficiently, so a load calculation matters more than a bigger nameplate.
Finally, install circuit-level or whole-home monitoring. Comparing post-upgrade kWh against your baseline confirms whether each measure delivered, and it tells you where to look when a result falls short.
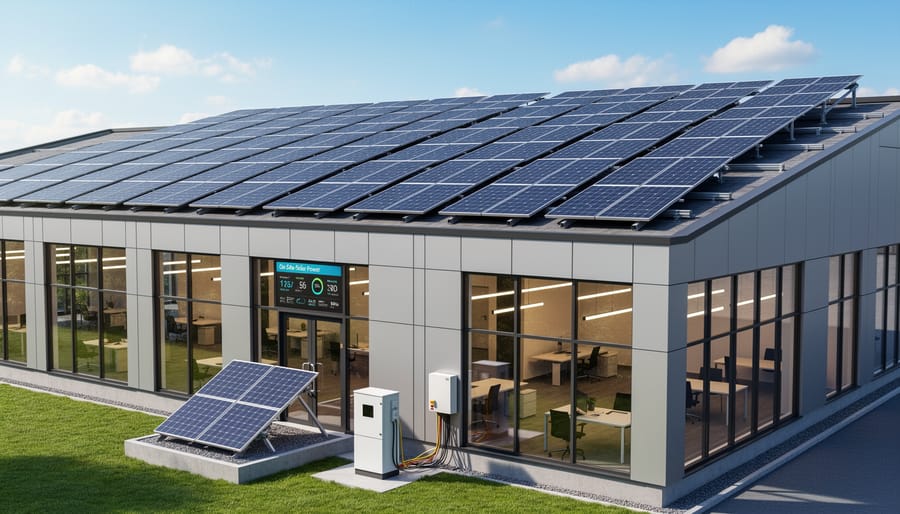
Step 8: Sizing Solar to Cover What Is Left
Start with your post-efficiency annual consumption, taken from twelve months of metered data after the air sealing, insulation, and heat pump work is done. That number is your target. Sizing solar before those upgrades means paying for panels that cover waste.
A rough sizing check divides annual kWh by the expected yearly production per kilowatt of panels. That production figure varies widely by location, so use a free modeling tool such as NREL’s PVWatts, which estimates output from your address, roof tilt, and orientation. For example, a home using 8,000 kWh per year in a place that yields about 1,300 kWh per installed kilowatt needs roughly a 6 kW system. Treat that as a starting estimate, not a quote.
Several site factors push the answer up or down:
– Orientation and tilt: In the northern hemisphere, south-facing roofs generally produce the most, though east and west faces can still work.
– Shading: Trees, chimneys, and neighboring buildings can cut output significantly, especially in winter.
– Export rules: Net metering policies differ by utility and change over time, so confirm how surplus power is credited before sizing for a full offset.
– Battery storage: Optional for annual net-zero accounting, but useful for outage resilience or where export credits are low.
Ask installers to model production against your actual usage, and have an electrician handle the interconnection and permits.
What Researchers and Building Scientists Say About Getting Real-World Results
Modeled savings and metered savings rarely match, and building scientists treat that gap as the central lesson of retrofit work. Researchers at national laboratories, including Lawrence Berkeley National Laboratory and the National Renewable Energy Laboratory, have repeatedly found that energy models overpredict savings in many homes. The usual causes are occupant behavior, installation quality, and assumptions about equipment that do not hold up once the work is done. In short, a well-modeled upgrade is not a guaranteed result.
Sequencing comes up again and again in the research. Building-science programs and the U.S. Department of Energy’s Building America program advise addressing the envelope first, because a tighter, better-insulated home allows smaller heating and cooling equipment. Installing a heat pump sized for a leaky house often means paying for capacity you will not need after the air sealing is finished. The same logic applies to generation: shrinking demand first reduces the solar system required, which is why it helps to understand how solar offsets energy use before sizing anything.
Researchers also flag a few recurring pitfalls:
– Skipping a post-work blower door test, so air sealing is assumed rather than confirmed.
– Insulating without addressing moisture paths, which can create condensation problems.
– Setting controls and thermostats once and never checking whether the system performs as intended.
Where we lack a direct interview, we have limited ourselves to findings published by these named programs rather than speculating about outcomes in any individual home.
How to Verify Your Results and Plan Next Steps
Verification starts with the same yardstick you used for the baseline: twelve months of metered data. Wait for at least a full year after your last major upgrade, then total electricity and gas into kWh and compare against your pre-upgrade figure. A single month proves little, because weather swings can hide or exaggerate savings. If you have a heating or cooling-degree-day record for your area, use it to separate weather effects from real performance gains.
A follow-up blower door test is the best way to confirm the air-sealing work did what it should. Compare the new airflow reading, expressed as ACH50 or CFM50, with the audit’s original number. A meaningful drop confirms the envelope is tighter; a small one suggests leaks remain around penetrations, attic hatches, or rim joists.
Next, check your solar production against what you consume. Most inverters and utility portals log generation, and your meter shows exports and imports. The number that matters is the annual net balance: kWh produced minus kWh used. If it sits at or below zero, you’ve reached net zero on paper and in practice.
If you fall short, work down a short list. First, look for remaining demand: a second round of air sealing, attic insulation top-ups, or a hot water or appliance swap. Second, check behavior, since thermostat setbacks, laundry timing, and phantom loads add up. Third, consider adding panels if roof space allows, or battery storage if your utility penalizes exports or charges time-of-use rates. Finally, if your roof can’t cover the gap, community solar or a utility green-power program can offset the remainder, though these are usually accounted for separately from on-site generation.
Common Questions About Zero Energy Homes
Most readers arrive here with the same few practical doubts. The answers below reflect the logic of the sequence above rather than any guarantee, since results depend on your house, climate, and utility rules.
Can an existing home really reach zero energy?
Often, yes, but it depends on how much demand you can cut and how much solar you can host. Older homes usually have the most to gain from air sealing and insulation, which shrink the load the solar system must cover.
Do I need batteries?
Not to reach net zero over a year. The goal is annual balance, and where net metering or export credits exist, the grid acts as your storage. Batteries become worth considering for backup power or where export rules are unfavorable.
Does climate change the approach?
It changes the priorities, not the sequence. Cold climates lean harder on insulation and heating efficiency, while hot climates emphasize cooling loads, shading, and glazing choices.
What if my roof can’t host enough solar?
Push efficiency further, since every kWh you avoid is one you don’t have to generate. Then look at ground-mounted arrays, community solar, or utility renewable programs to cover the remainder.
Going all-electric is a related question. It isn’t strictly required to reach zero energy, but replacing combustion equipment with heat pumps makes the accounting simpler, because everything you use can be offset by one on-site source. If you keep a gas appliance, you’ll need to convert its consumption to a common unit and offset that too.
Timing varies as well. Because the work is a series of projects rather than a single purchase, many households spread it across several years, verifying results after each step before moving to the next.
Zero energy is not something you buy; it’s something you build in a deliberate order. Measure your baseline from twelve months of bills, seal and insulate the envelope, switch to efficient equipment such as heat pumps, and only then size solar to cover what remains. Skipping ahead, say by installing panels on a leaky house, usually means paying for a bigger system than you need.
Verification is what turns a project list into a result. Compare post-upgrade utility data against your starting point, confirm airtightness with a follow-up test where possible, and track your annual net balance. If you fall short, the gap tells you where to look next: more envelope work, changed habits, storage, or a utility or community renewable program.
This kind of staged, evidence-led retrofit sits at the heart of Energy Efficiency and Home Solutions. For continuing coverage of the research, technologies, and policies behind it, explore related topics across Renewable Innovations and subscribe to our newsletters.